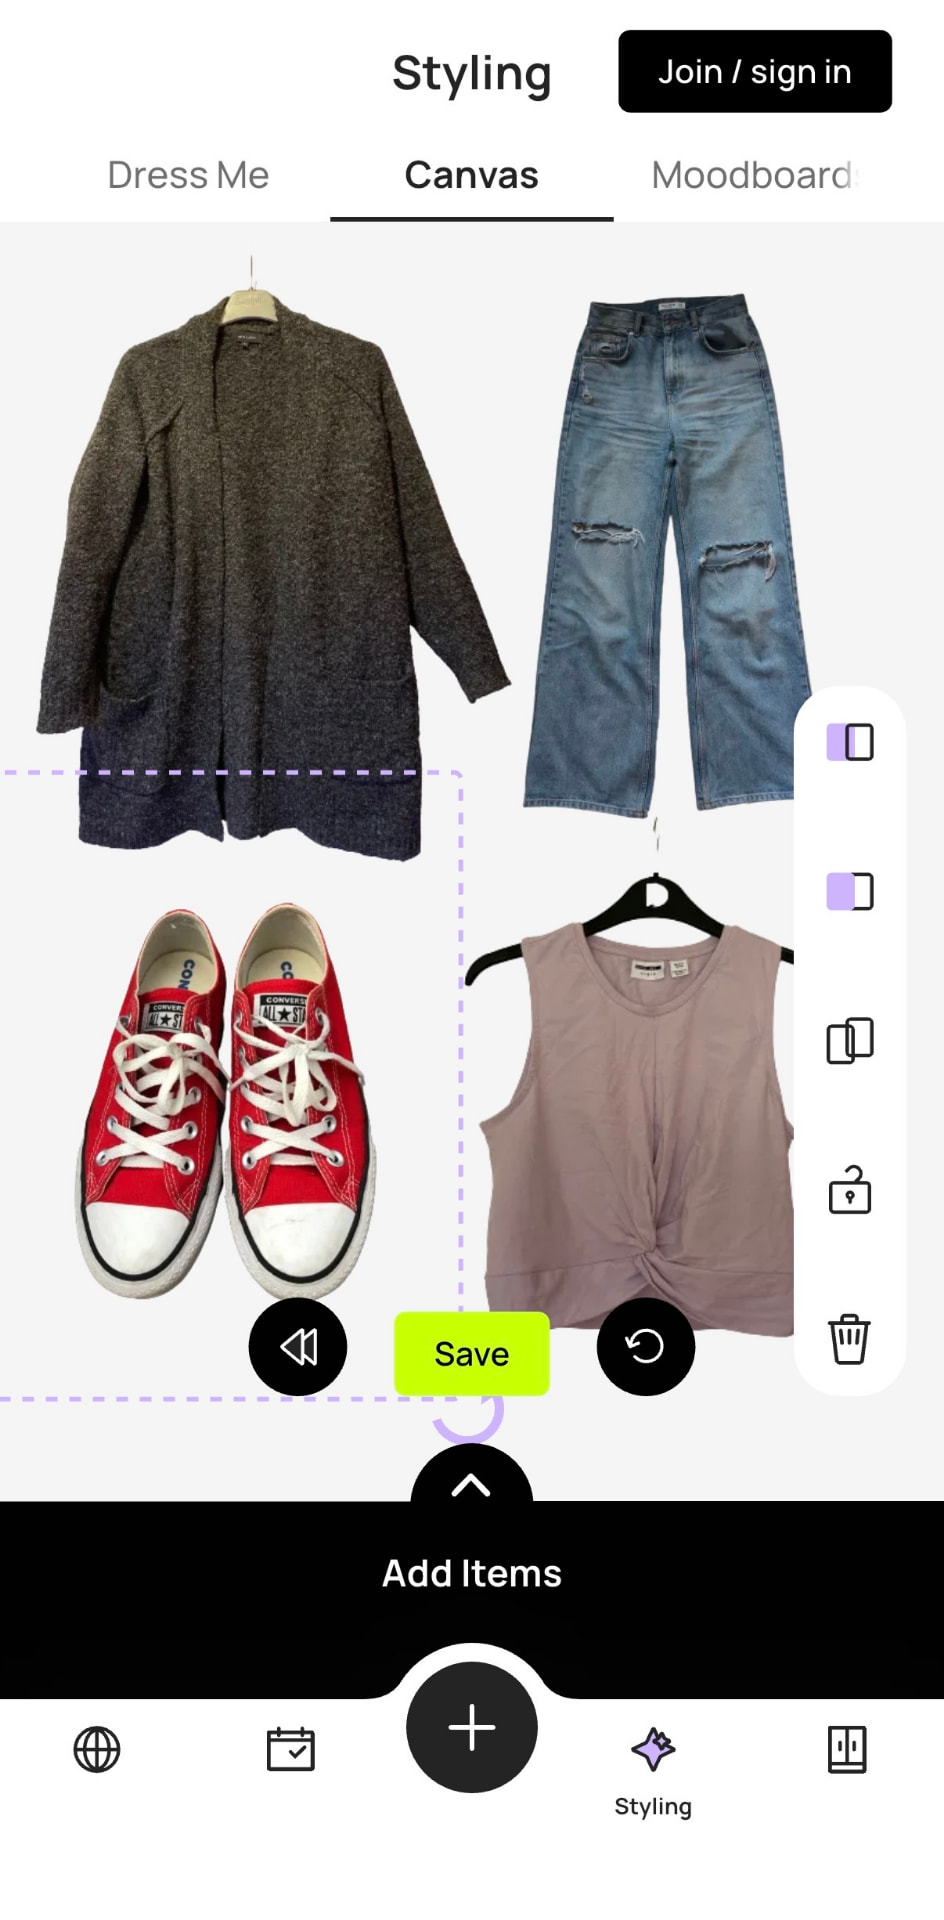
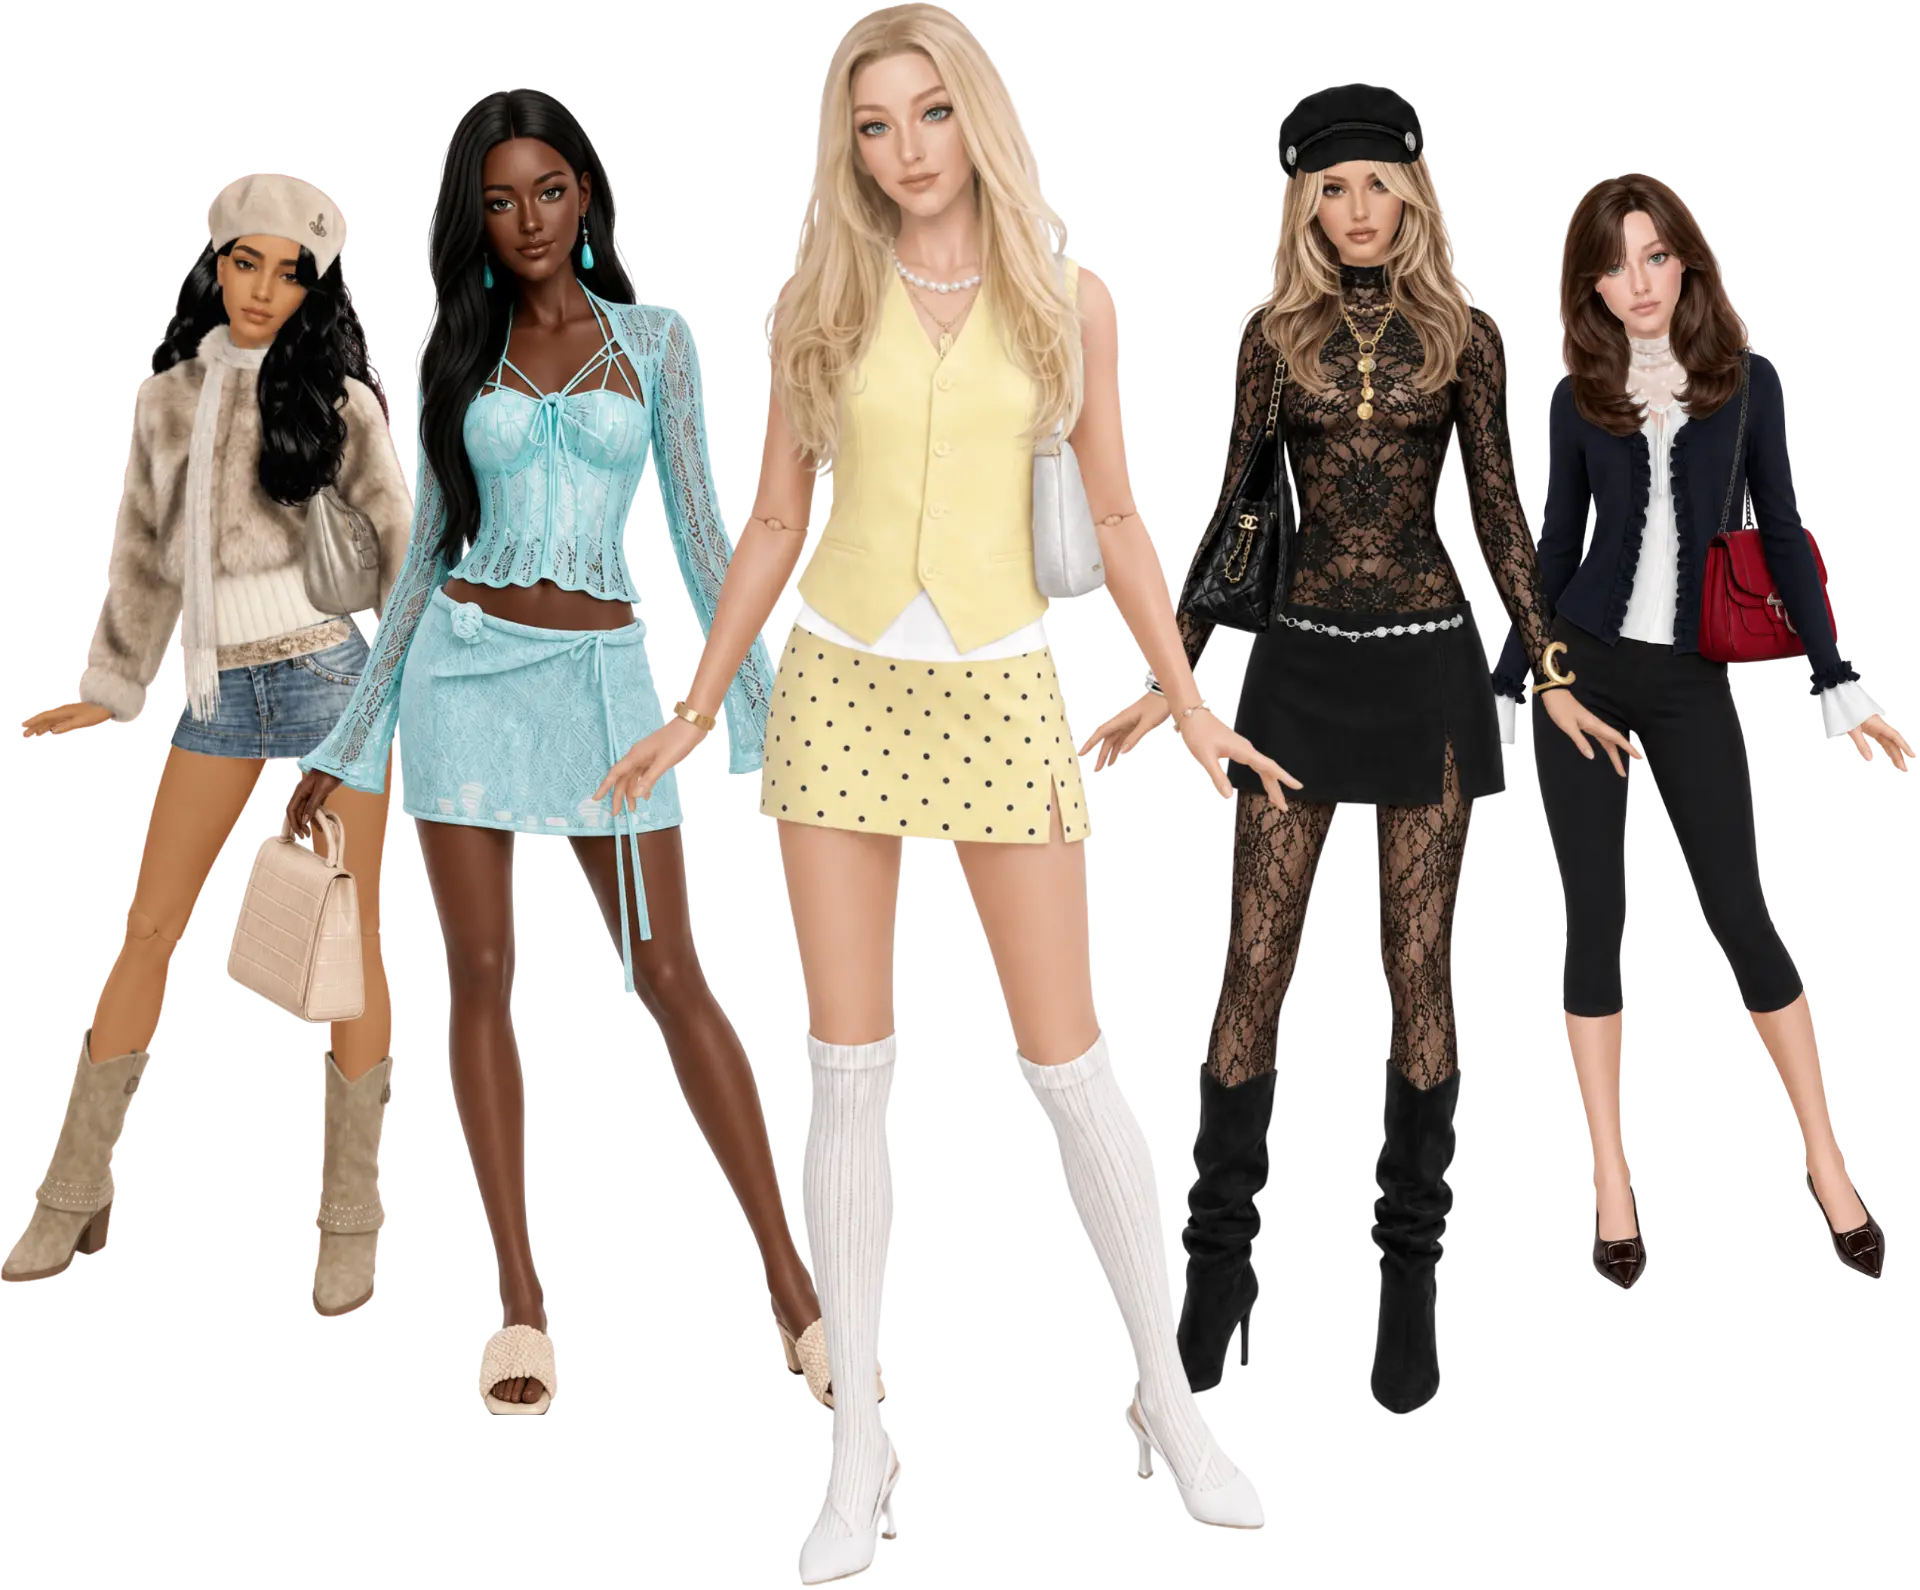
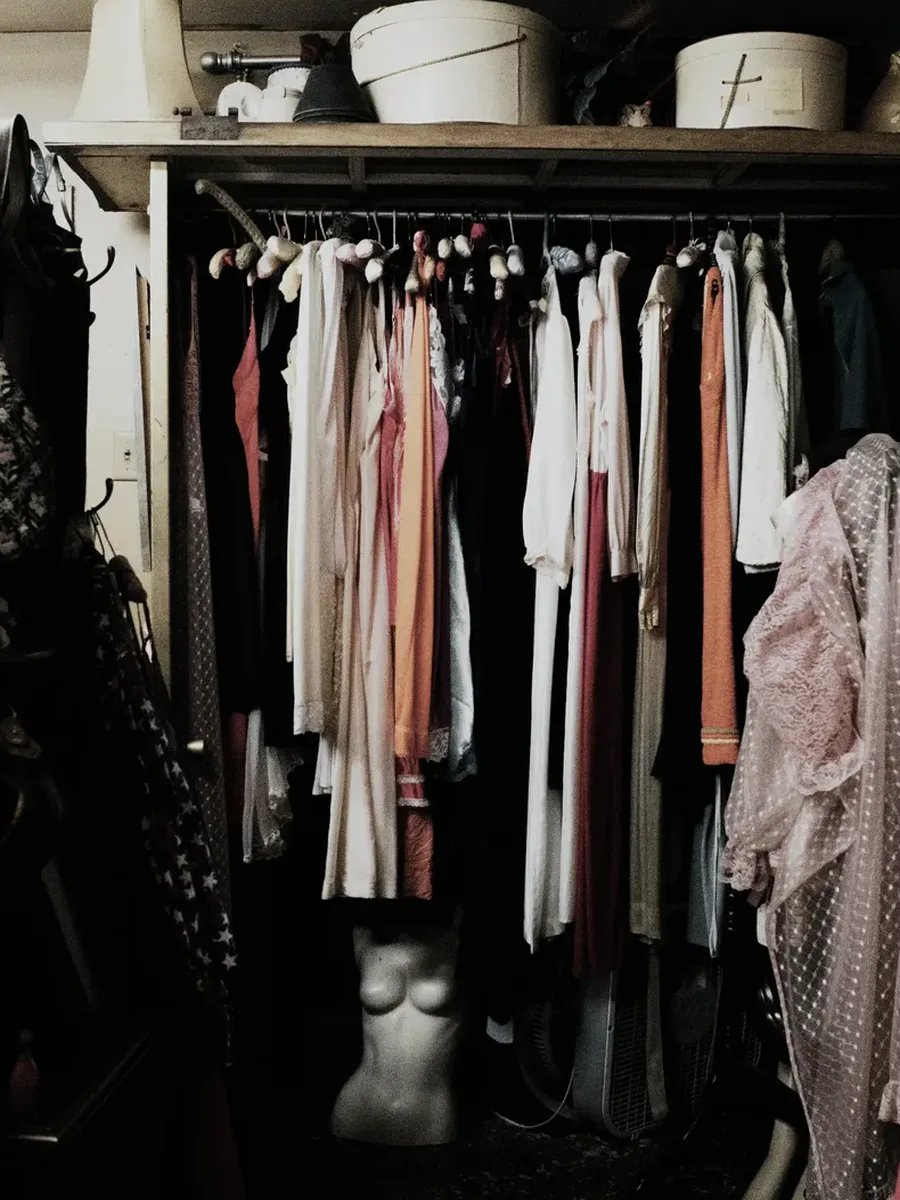
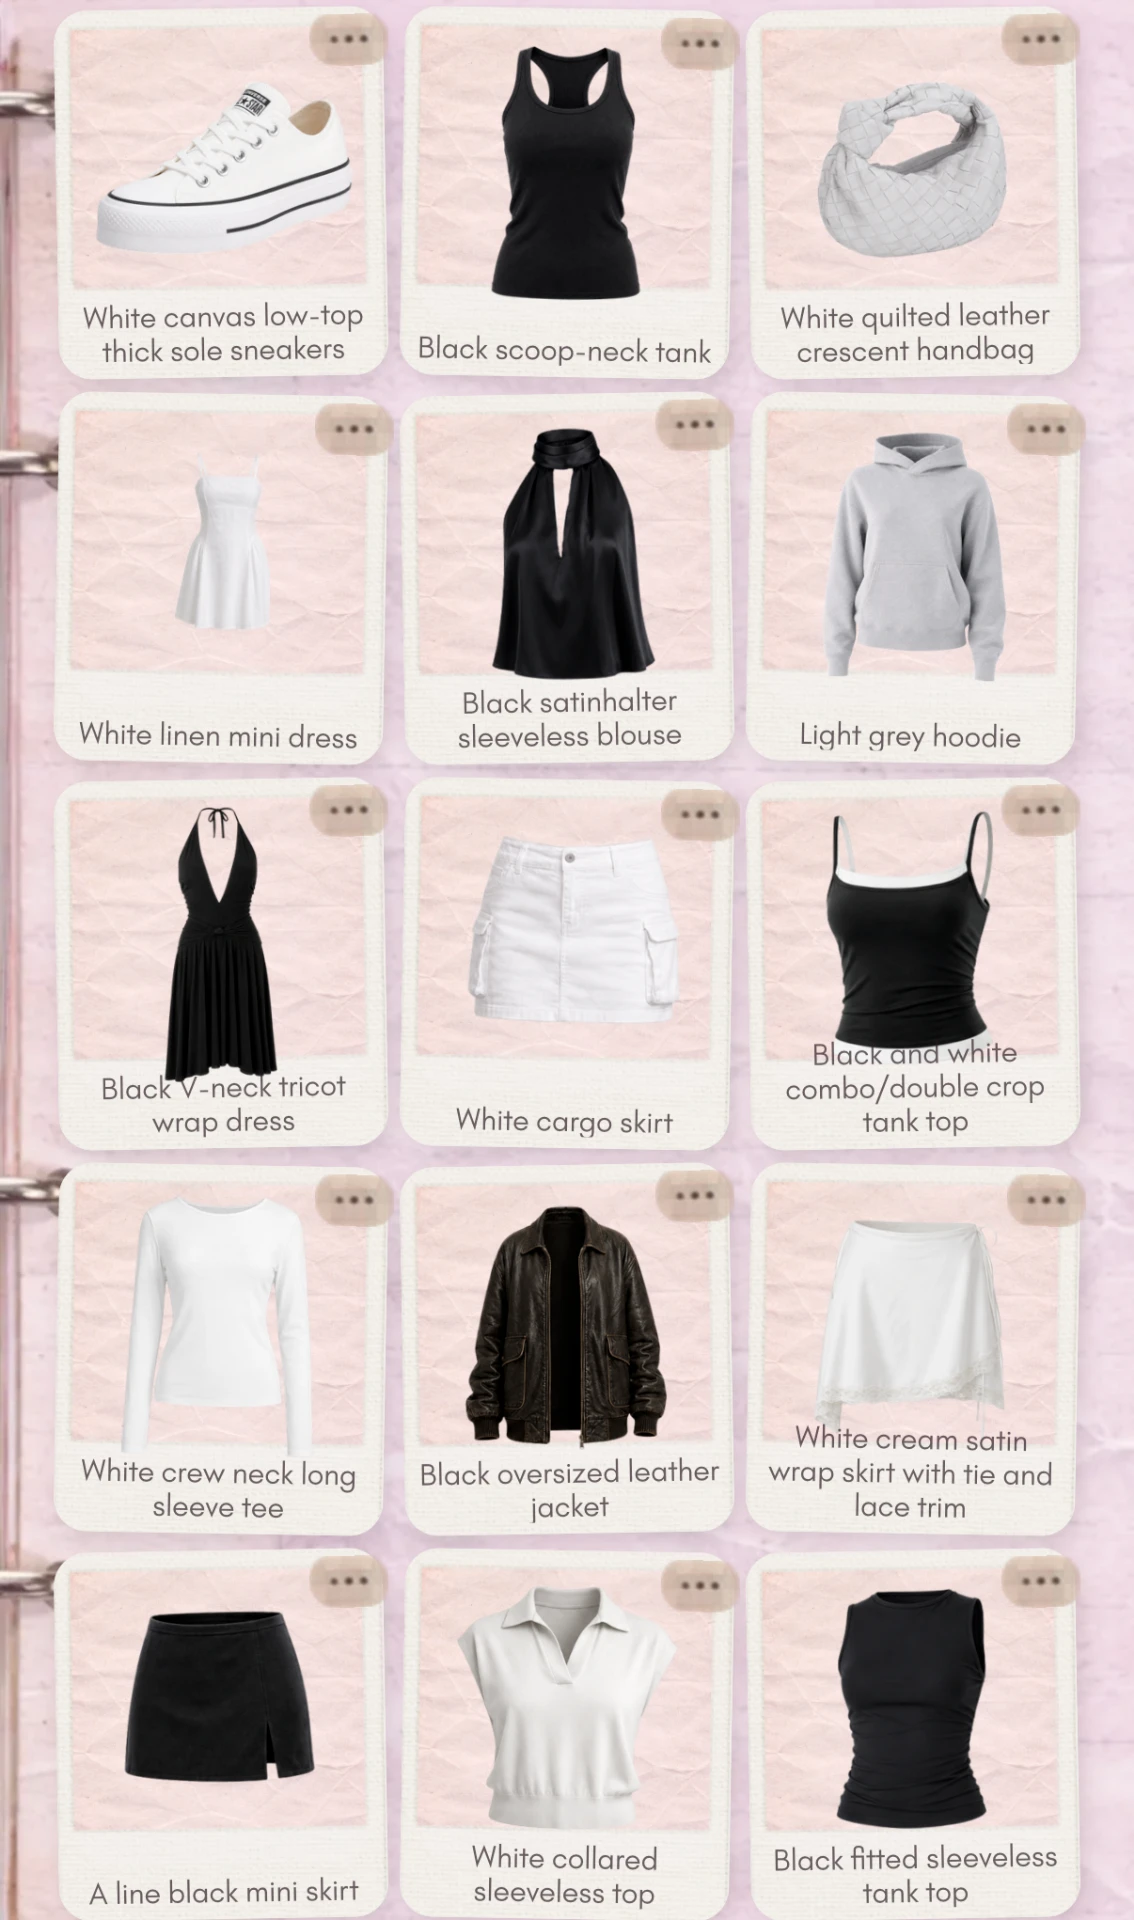
Every wardrobe app asks you to photograph your clothes. A good photo becomes a clean garment you're happy to see on screen - a bad one means an unrecognizable and, to you, useless item.
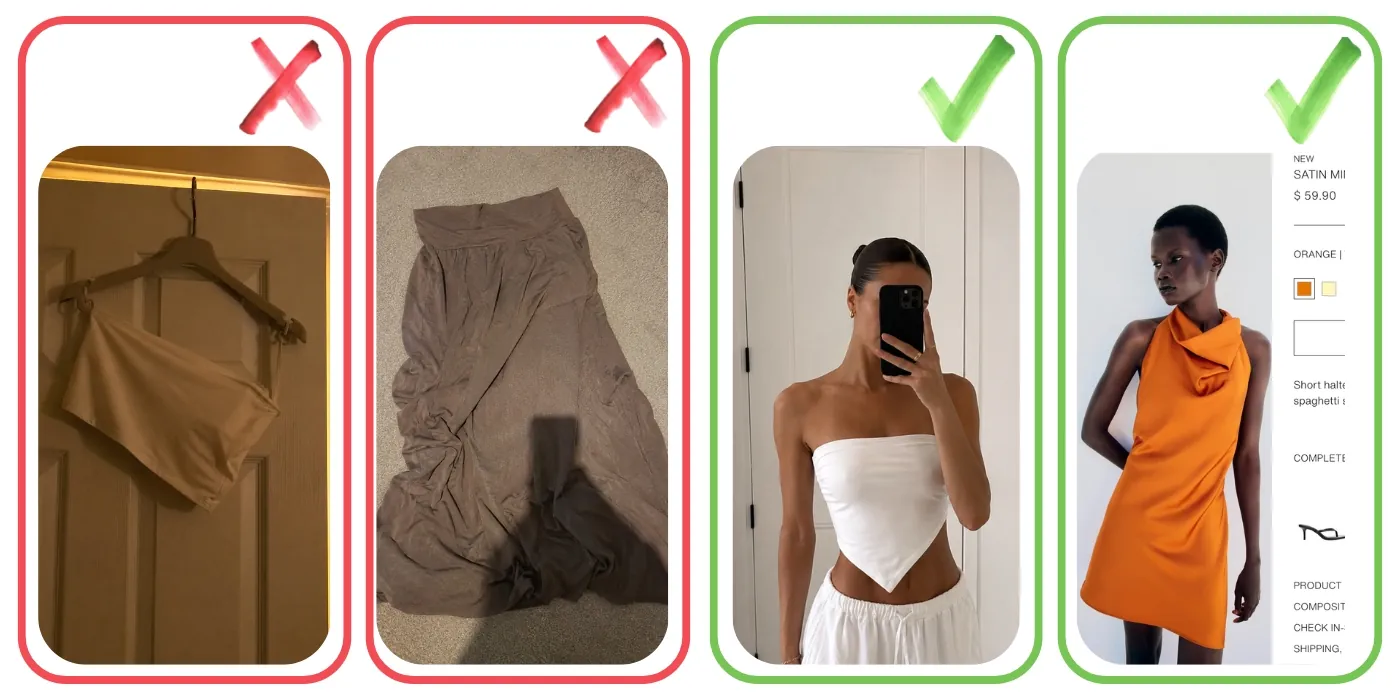
1. The whole garment in frame
Every edge visible, with a bit of space around it. If the bottom of the skirt runs off the edge of the photo, the computer has no way of knowing what the hem looks like, and it might come out wrong.
2. Adequate lighting
A navy top can render black in poor lighting. Any normal indoor light works. Try to avoid sharp shadows as the computer can have a hard time distinguishing this from a deliberate pattern that should be kept in.
3. Flat and unfolded
Lay the item out as if it were being worn, roughly. Sleeves out to the sides, not tucked. Hanger shots work better than flat lays, typically.
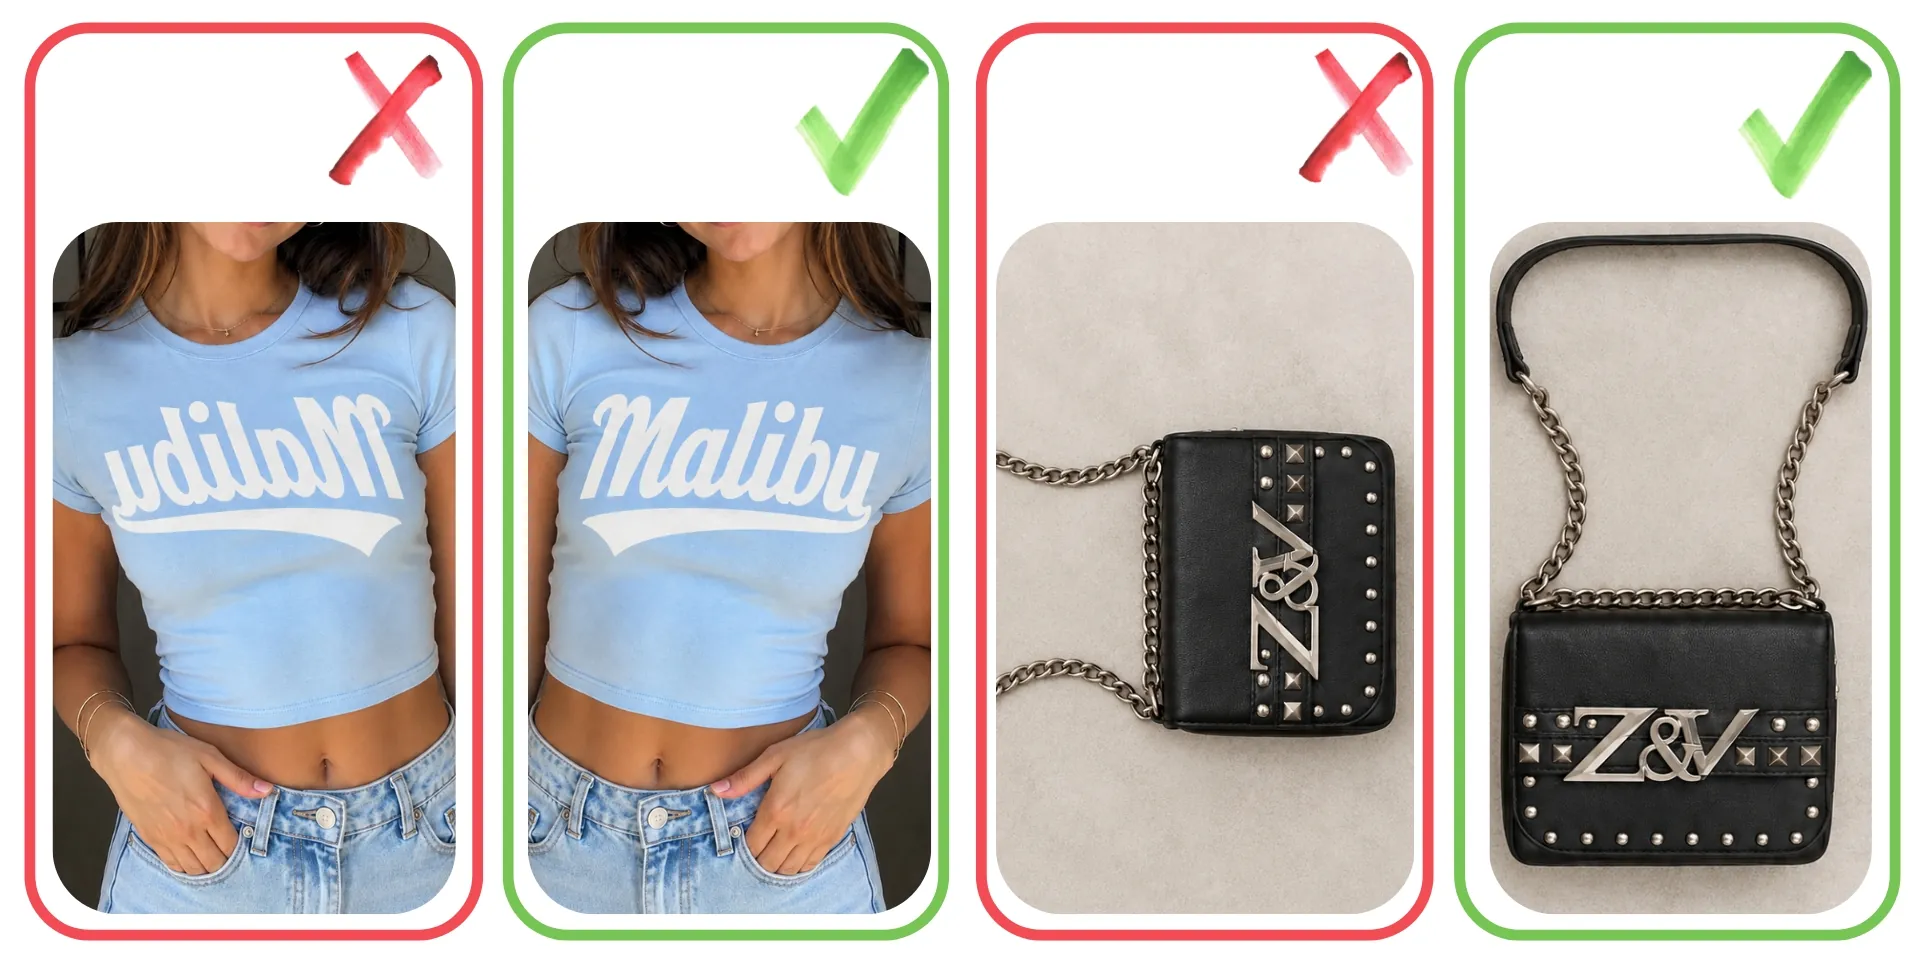
4. Cropped, flipped and rotated
If the input photo is a selfie in the mirror and the pattern is mirrored, that will be replicated onto your garment. Also make sure to crop out the actual item you want rendered so the computer doesn't draw the wrong thing and rotate so that every garment is the right way up.
Bonus points
Some garments are easier for the computer to guess how they fit you. Some - like jeans for instance - most often fit everyone differently. While a hanger or flat lay shot can still work, this is where an on-body shot will give you the most bang for your buck.
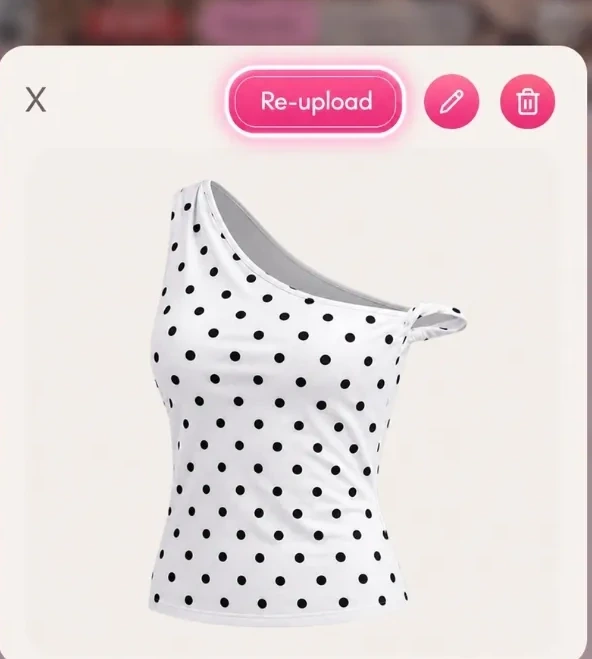
If something comes back wrong
Even with perfect photos, it is possible that you are disappointed by a render here and there. Re-upload is the backstop for when this happens. Simply press into the item in your closet detail view and press re-upload, describe what is wrong with the render ("the jeans are full length, not cropped at the ankle" or "the jacket is more oversized than this"), and optional to add a new photo if you think you have a better one as well, and the item is sent back to get re-done. It will then materialize right back into your closet as soon as it's ready.